Showit Sitemap: How to Submit Yours to Google
TL;DR: How to Submit Your Showit Sitemap
- Why Submit a Sitemap?
- Do All Websites Need a Sitemap?
- How to Submit a Sitemap to Google Search Console
A sitemap is a Google-friendly outline of your website that makes it easier for Google to put your URLs in search results. Luckily, Showit automatically generates an XML sitemap for users. All you have to do is copy and paste your Showit sitemap URL into Google Search Console.
*Deep breaths.* We’ll show you how!
Ok but… Why does my Showit sitemap matter?
By submitting your Showit sitemap on Google Search Console, a free Google tool, you bypass letting Google decide which pages to put on search engines.
You can always let search engines *eventually* crawl your site and index it… or you can hand over your sitemap right away so nothing gets overlooked! This means you get to show up in search results faster and make sure the “health” of your website is in good shape.
Do all Showit websites need to submit a sitemap?
Not necessarily. Google recommends you submit your sitemap if:
- You have a new website.
- You have several web pages.
- You frequently update your site (blog posts, products, promotions).
But, we always recommend submitting a sitemap for anyone who uses Showit. Why? Because you are investing a lot into your online platform. Whether it’s paying for copywriting, website design, or professional branding, (or even DIYing your site) you devote a lot of time into getting your site just the way you want it. So why not make sure Google knows exactly how to index it (put your URLs in search engines) so you can get the organic traffic you’ve worked so hard for?
Think of it like this: Not submitting your Showit sitemap is like…
- Going hiking on an unmarked trail
- Writing a 500-page novel with no table of contents
- Road-tripping with no cell service (aka no Google Maps)
- Baking a pie with ingredients but no recipe to follow
How to Use Google Search Console to Submit Your Showit Sitemap for Indexing
→ STEP ONE
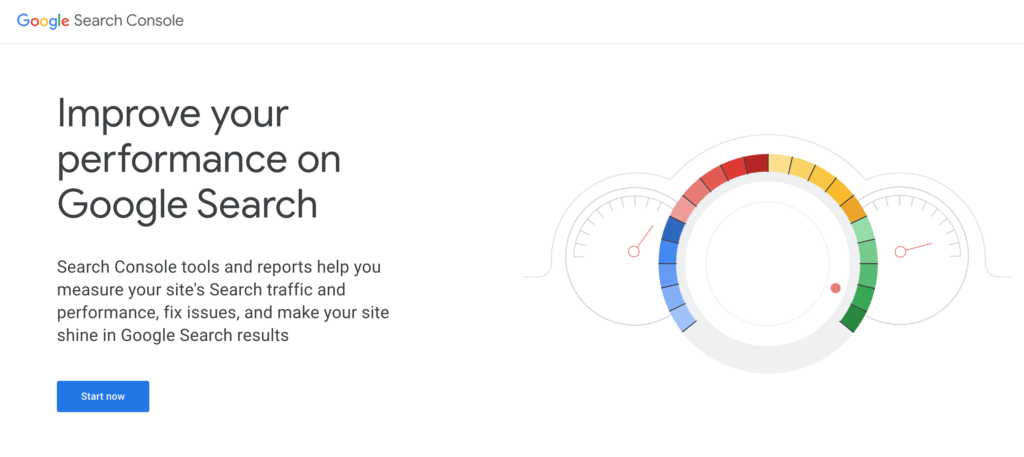
Create a free account with Google Search Console.

→ STEP TWO
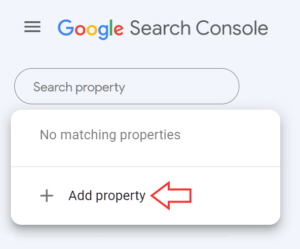
Go to the property section in the upper left corner and click add property.

→ STEP THREE
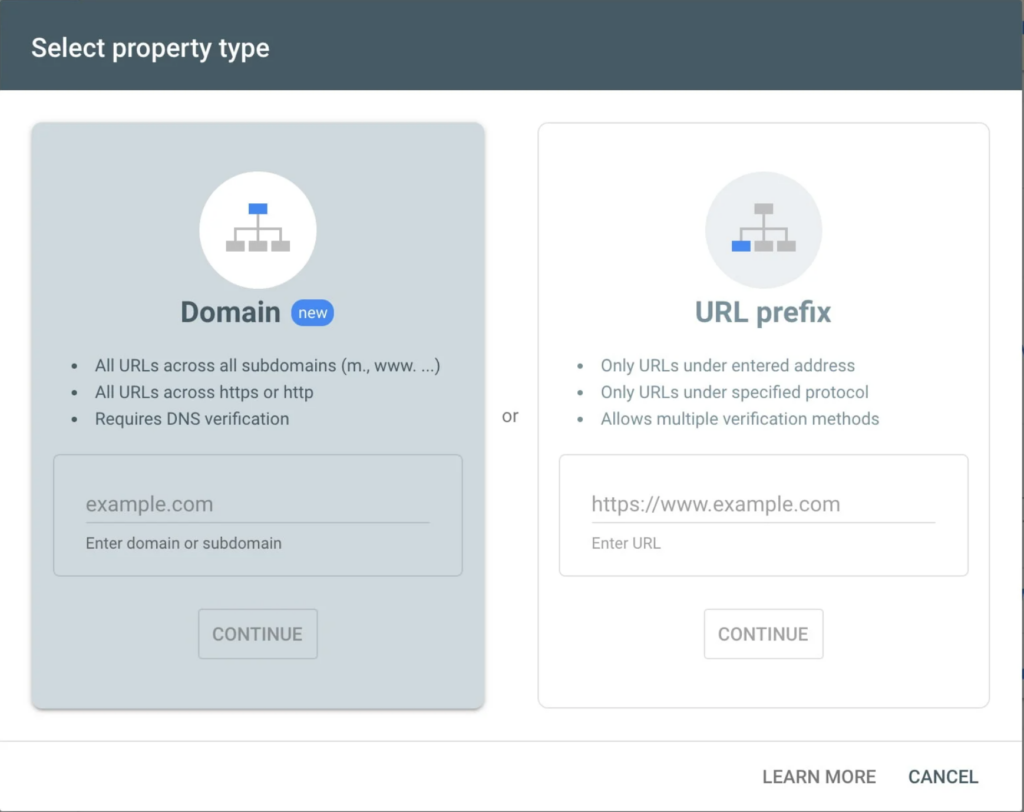
Choose your property type:
“Domain” DNS verification or “URL Prefix” for multiple verification methods.

Check with your web building platform on which verification method to choose. We personally have always found the multiple verification methods to be a bit easier to get Showit sitemaps connected to Google Search Console.
→ STEP FOUR
After verifying ownership, you need to create an XML sitemap.
- For your Showit webpages, you already have an XML sitemap generated for you at yourdomain.com/sitemap.xml, but this doesn’t include your blog (follow steps below).
- If you use Showit’s WordPress blogging integration, then head over to your WordPress account and download the free Yoast plugin. Click on the “SEO” section then click “Features.” Make sure the “XML Sitemaps” is turned on. Then your sitemap can be located at yourdomain.com/sitemap_index.xml.
→ STEP FIVE
Next, add your Showit sitemap URL to Google Search Console. Click on “Sitemaps” from the left menu. Then add the url in the text field and hit “Submit.“

AND THAT’S IT!
Don’t sweat it if you get an error message at first. It may take some time for Google to scan your URLs for indexing.
Still Have questionS?
Let us know in the comments! Or if these steps worked and you were able to submit your Showit sitemap, we’d love to know below!

Thank you! You are awesome. So easy!